Once AE Connect is installed on your site, you will create the registration flow for your user signup. This how your users will be added to the FairShare marketplace so you can start collecting valuable insights on their social media, streaming and on-site behavior and interactions.
Jump to:
- Email registration with data-ae-register-window
- Email registration with data-ae-register-form
- AE Connect customization
- Test email registration
Email registration with data-ae-register-window
This is the most simple approach to adding the AE Connect registration flow to your website. Using the steps below, you will create a link that will start the registration flow with email and all social apps that you have enabled in the FairShare dashboard.
- Navigate to the editing side of the page where you want the AE Connect registration flow to appear.
- We will be using AEJS data tags and adding them to the HTML on this page to create the registration flow. Here is an example of HTML that will redirect to a new page for the registration flow, and then send the user to a “thank you” page after registration:
<a href="#" data-ae-register-window="true" data-ae-return="https://example.com/thank-you">Register</a>
This code uses the AEJS data tags:- data-ae-register-window: shows a screen that allows registration via the services enabled for the site in the AE dashboard
- data-ae-return: the URL where the user will be sent after registration
- Here’s what that looks like on the frontend:
 Click the link to start the registration flow:
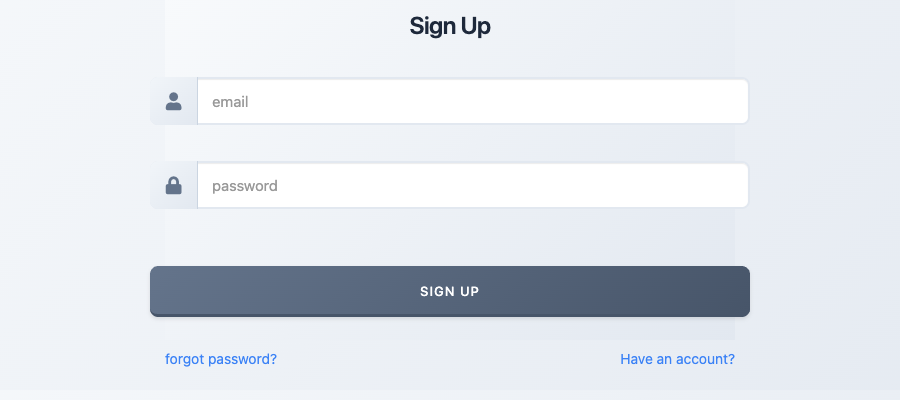
And the user will be sent to the page specified above after signing up:
- If you want the registration flow to be in a pop-up window, you will need to adjust the AEJS Settings. This is done by editing the code in the footer section (the AEJSReady function you added when you installed AE Connect, see Basic AE Connect Install) to include the “auth_window” setting. Here is how the code will look:
<script type="text/javascript" charset="utf-8">
    function AEJSReady(aeJS) {
aeJS.settings['auth_window'] = true;
    }
</script>
Here’s what the pop-up looks like on the frontend:
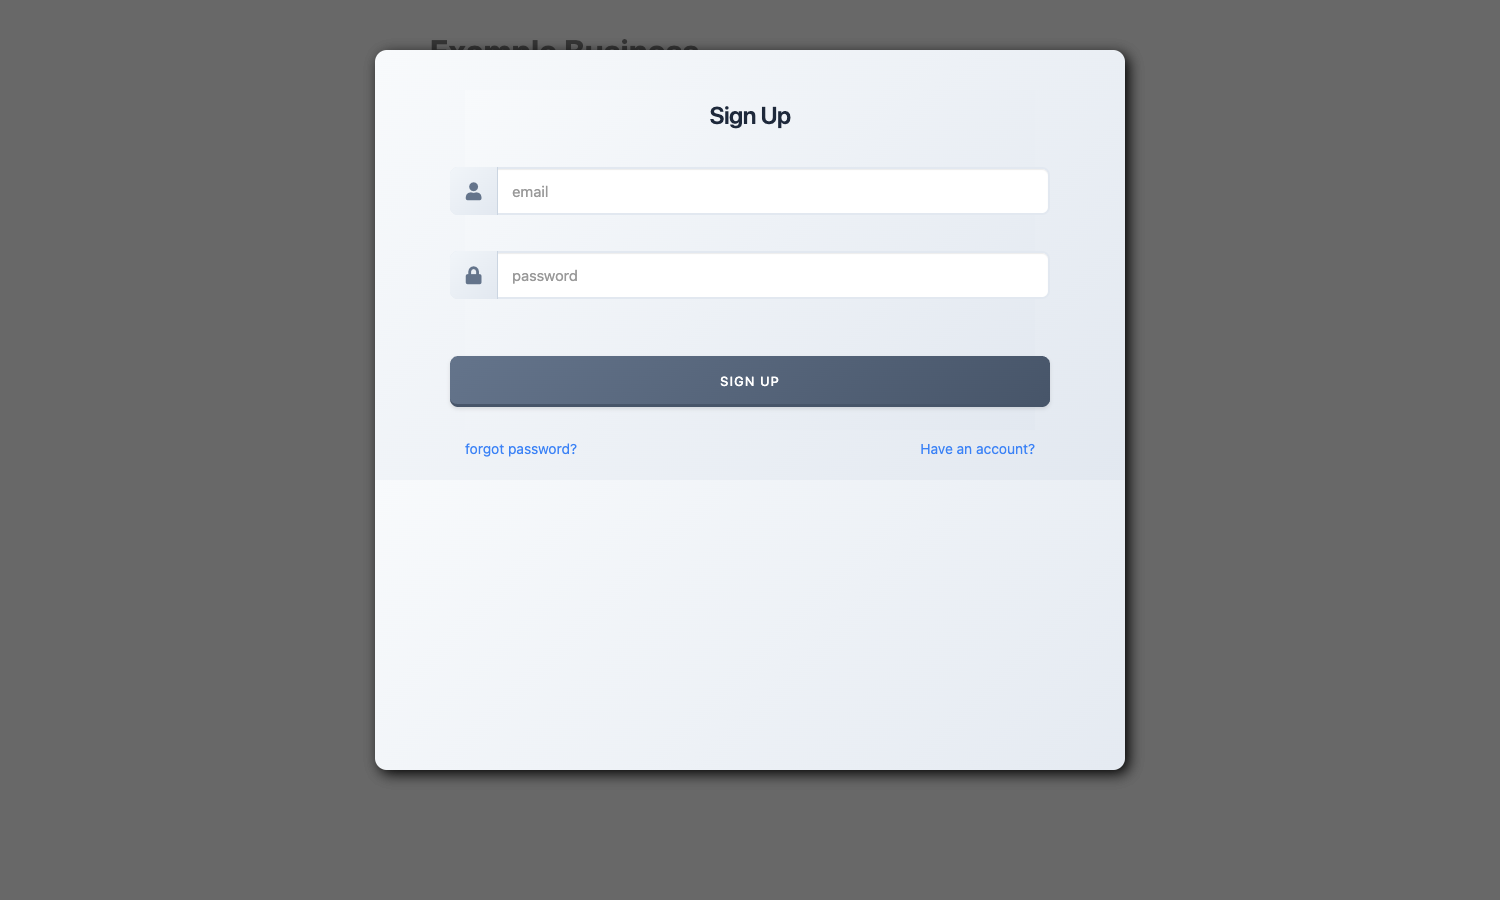
Important
If you use the pop-up registration window, the visitor is not sent to the page set in data-ae-return after registering. Test how it behaves on your site before you launch.
Jump to Test email registration
Email registration with ae-data-register-form
If you want to build your own form and not use the one built into the AE Connect framework, this is the data tag you will use. You can also add social logins to the page with ae-data-register-link.
- Navigate to the editing side of the page where you want the AE Connect registration flow to appear.
- We will be using AEJS data tags and adding them to the HTML on this page to create the registration flow. In this method, you will be creating your own form with HTML. Here is an example of a very basic email sign-up form:
<form id="email-signup" data-ae-register-form="email" action="https://example.com/thank-you/" method="POST">
    <input type="text" placeholder="Name" name="firstname" required>
<br>
 <br>
    <input type="text" placeholder="Email" name="email" required>
<br>
 <br>
  <input type="password" placeholder="Password" id="psw" name="password">
<br>
 <br>
 <p style= "color:#8f8f8f" ><em>By creating an account, you agree to the terms and conditions and our <a href="https://myfairshare.io/privacy-policy/">privacy policy.</a></em></p>
<button type="submit" class="signupbtn">Sign Up</button>
</form>
Here’s what the form looks like on the frontend:

Jump to Test email registration
AE Connect customization
AE Connect is designed to be flexible and can be styled to match your website and branding. There are a few ways to customize the look and feel of your sign-up and login forms. See AE Connect: Basic CSS Styling and AE Connect: Advanced Setup and Customization for more information.
Test email registration
Once you’ve created an AE Connect email registration form on your site, you should test that email registration is working.
Important
Note: If your email registration isn't working, check that your domain is allowlisted. See Allowlist Your Domain.
- Navigate to the page where your AE Connect registration is.
- Register using your email and a password of 7 to 11 characters. The built-in sign-up window currently rejects longer passwords.
- You should receive a FairShare welcome email that contains your username and a link to your My FairShare dashboard. This dashboard is where your users will manage their data and data sharing permissions.

- Navigate back to your FairShare for Business dashboard.
- Select All Members from the quick links section.
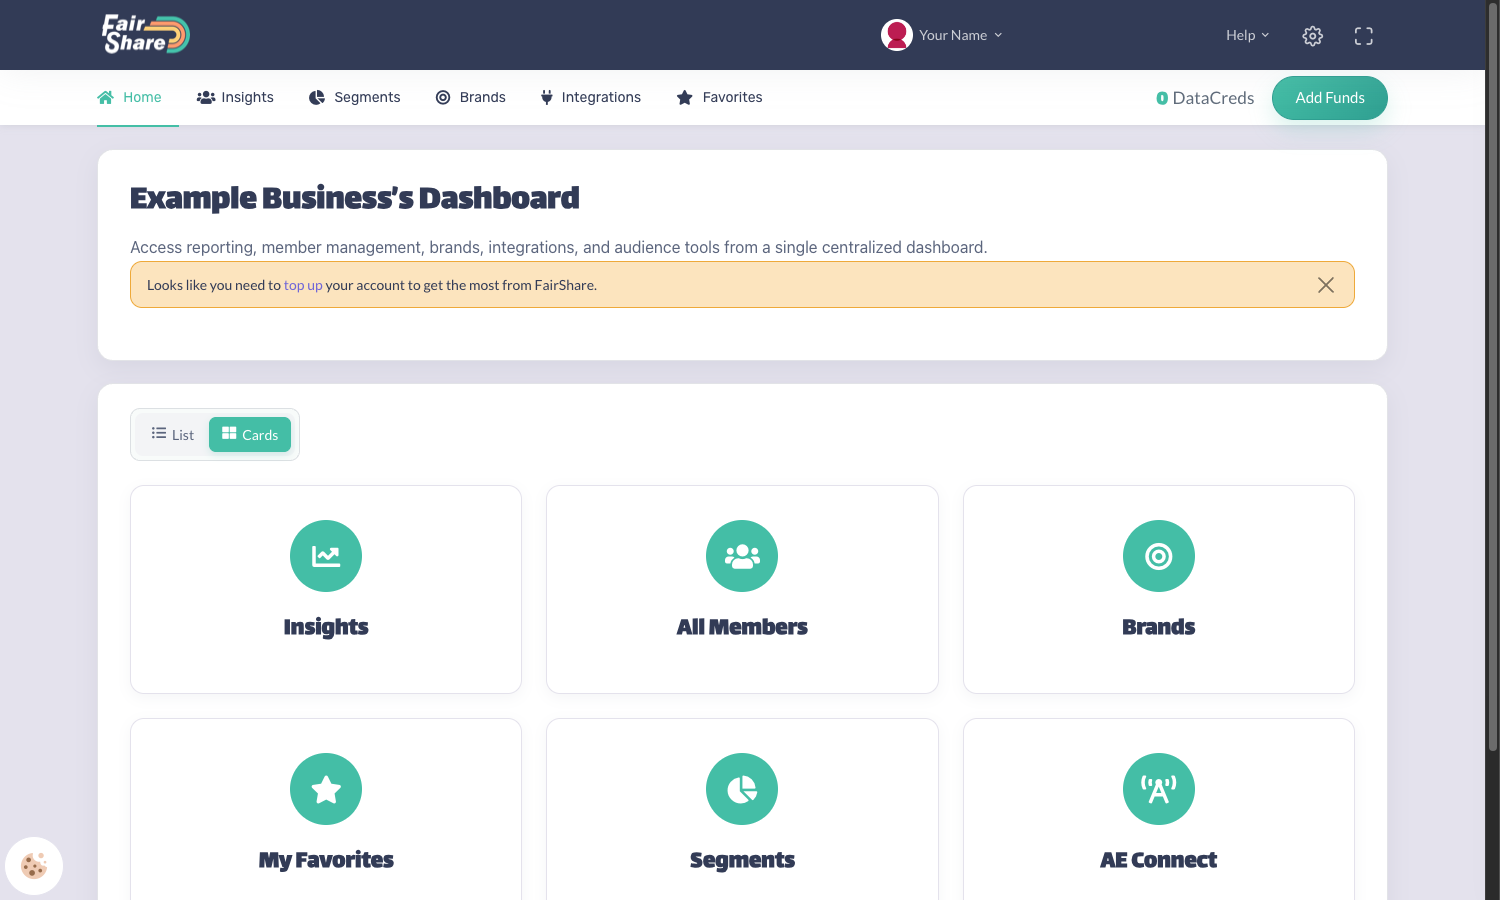
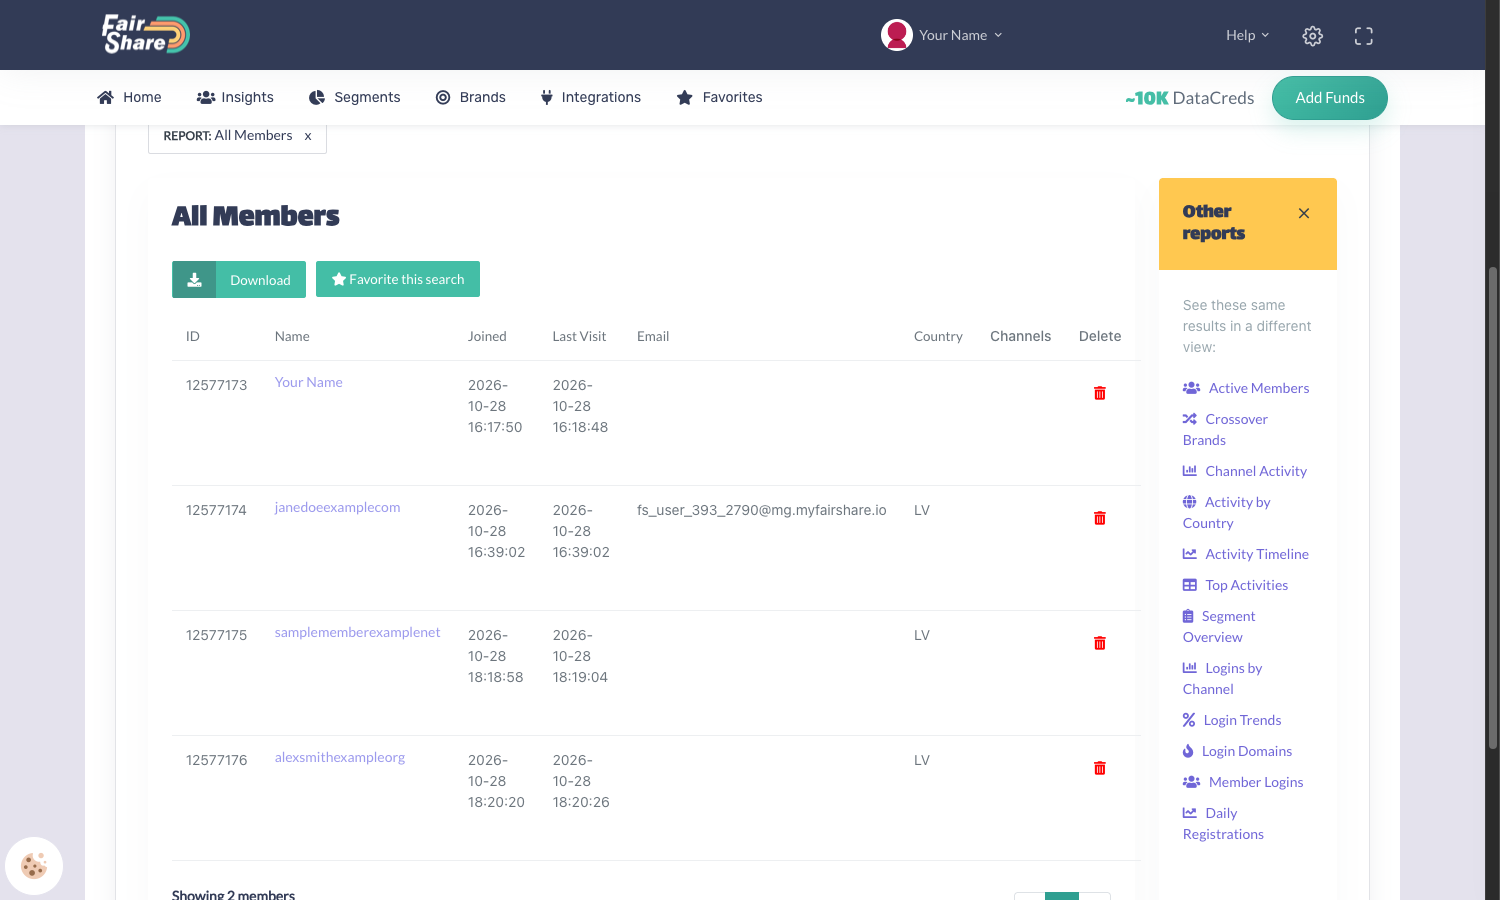
- You should see the new member in the All Memberslist. The name shown is the member's generated username, and the email address appears blank or as an alias.
What your customers receive after signing up
After someone registers through AE Connect, FairShare emails them. The email comes from FairShare, not from your business, and it names your business. Which email they get depends on the sign-up form you installed:
- Email + password sign-up (the built-in sign-up window): the customer receives Welcome to FairShare. It starts with "Good news", shows their username, which FairShare generates from their email address, and has a Set Your Password button.
- Email-only sign-up (the "Email me a setup link" snippet on the Install AE Connect tab): the customer receives Finish setting your password, with a Set Password button. The link works for 2 days. This email doesn't show their username. They see it after they set their password.
FairShare doesn't show its own message on your site after someone signs up. Use the page you set in data-ae-return to tell people to check their email, and to look in their spam or junk folder.
Your customers manage their data in their My FairShare Privacy Center. For their side of these emails, see How you get a My FairShare account.
Next Article: Create Social Apps
Was this article helpful?
That’s Great!
Thank you for your feedback
Sorry! We couldn't be helpful
Thank you for your feedback
Feedback sent
We appreciate your effort and will try to fix the article